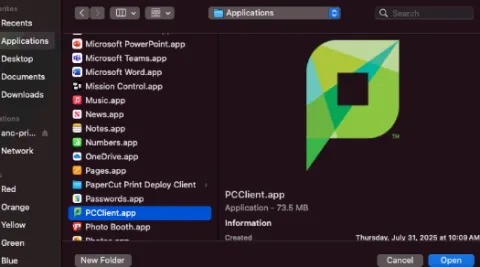
How to Install the Papercut Client
The Papercut Client adds a number of features to your computer that will benefit the printing process.
Some of those features include:
Printing notifications
A balance widget that displays your Bridge Bucks balance
The ability to pick between multiple printing accounts
This is an employee only feature, contact the printing@uleth.ca to confirm that your printing account is setup to use multiple accounts.
- Download the zip folder HERE (You will need to log in with your U of L credentials, if not already signed in)
- Unzip the Folder
- Image
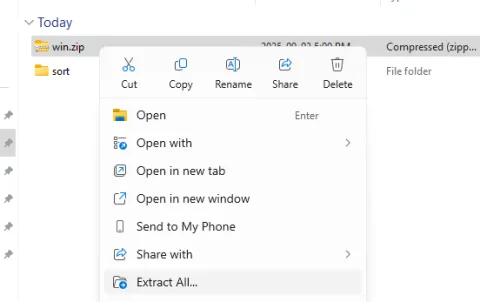
- Right-click on the zip file you downloaded and choose Extract All... Then select the location where you want to extract the zip file.
- Image
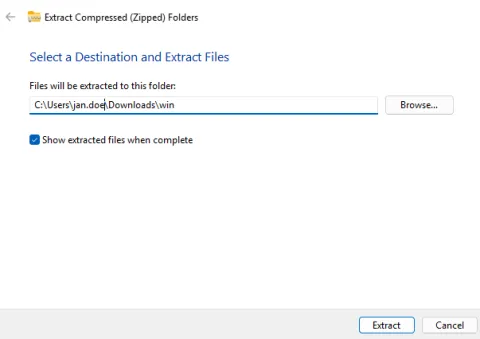
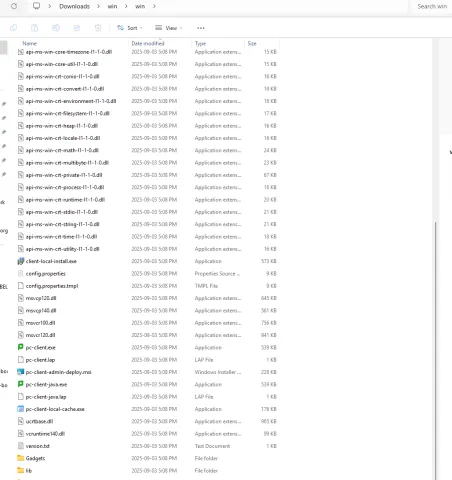
- Click Extract, then go to the location once it's done extracting.
- Run the file called "client-local-install.exe"
- Image
- Click Yes, Accept the User Agreement, then click Next
- Click Next, Next, then Install
After you click Finish, it will ask you to sign in. Sign in with your U of L username (this is your email without @uleth.ca, i.e. jane.doe) and password (Check Remember my identity, if you do not want to keep signing in each time).
Image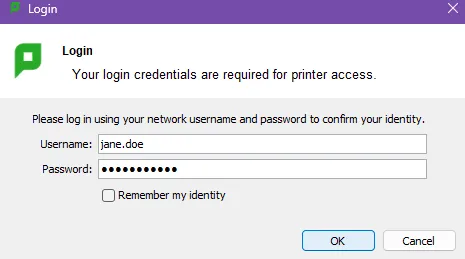
The PaperCut Balance Widget will now appear on the top right of your screen.
Image
- You can now print your document.
If you are running Mac OS Sequoia (15.x), please update to 15.7 before running any of the steps below.
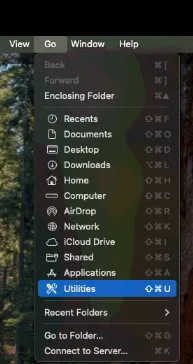
- Click Go on your top menu bar, then select Utilities. Double-click on Terminal and type the following:
softwareupdate --install-rosetta. Then, hit Enter, type A and then press Enter. Type your Mac password (You will not see any characters when typing; this is for security reasons) and hit Enter, and wait until the process is complete.
- Image
 Image
Image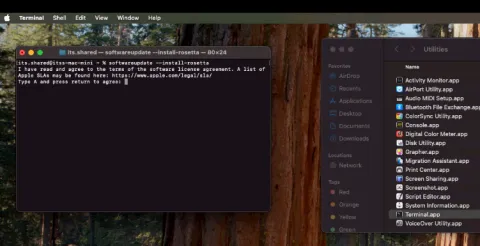
- Click Go on your top menu bar, then select Connect to server.
- Type the following path to connect: smb://anc-print-p.uleth.ca/
Enter your University Credentials without the @uleth.ca and click connect.
Image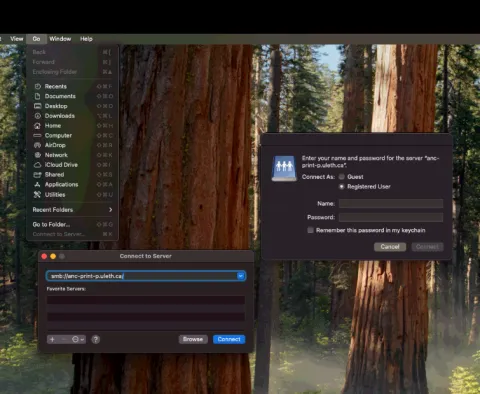
Choose PCClient and click Ok.
Image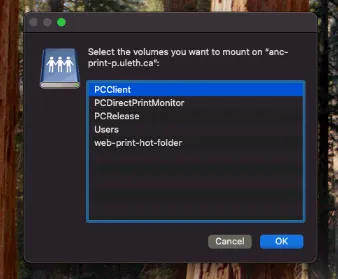
- Double-click on the folder labelled Mac.
Double-click the "client-local-install" file
Image
Click Yes
Image
After clicking Yes, wait about a minute for a pop-up to appear, asking you to sign in. Sign in with your U of L username (this is your email without @uleth.ca, i.e. jane.doe) and password
Image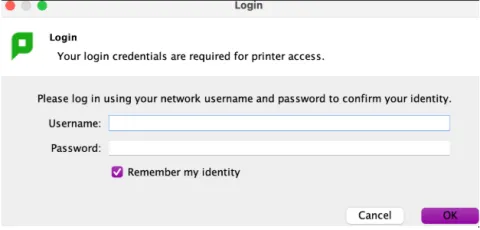
- Next, add the Papercut Client to open at login when your computer turns on.
Click on settings, then navigate to Login items and extensions.
Image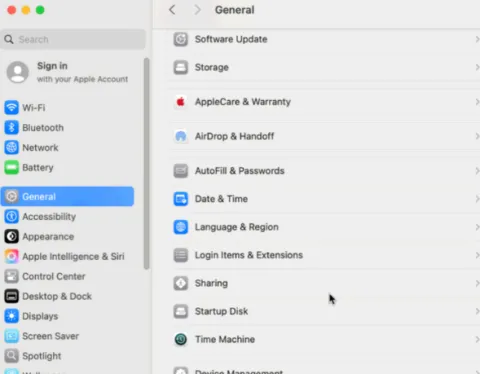
Click the + sign under Open at login items
Image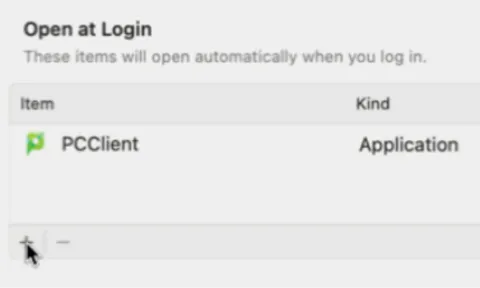
Find the PCClient in your Applications, select it, and click Open.
Image