Video Recording - Apple Guide
Video Recording - Apple Guide
Contact our IT team for any technology-related issues
Kevin Orr (kevin.orr@uleth.ca) or Scott Powell (scott.powell@uleth.ca)
Photo Booth
Image

| Apple’s Photo Booth is a built-inapplication on Macintosh computersthat allows users to take photos andrecord videos using the built-in camera.It features a simple interface, making iteasy to capture quick images or video clips.This guide will walk you through howto use Photo Booth to record sessions,export your recordings, and submit the final results. |
Computer Login:
To access the computer, you will be prompted to enter a password (there is no personal login). When prompted, enter apple
This same password is also used for installing software, updating applications, and the operating system.
Recording in Photo Booth:
The application to use for recording is Photo Booth. It is a simple one-click record/stop application that creates raw recordings without the ability to edit afterwards. Videos can be edited using separate applications.
Photo Booth Application: | |
Image

|
|
Starting a Recording: | |
Image

|
|
Stopping a Recording: | |
Image

|
|
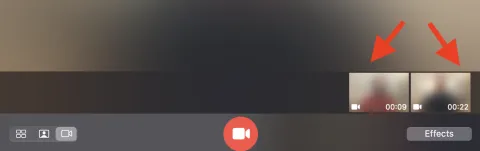
Video Playback:
We recommend playing back your videos to ensure audio and visuals were set properly. Always record a very quick test recording and play it back to check that everything is set properly.
Library | |
Image
|
|
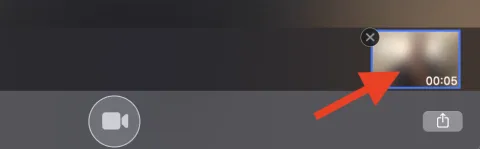
!! IMPORTANT !! | |
Image

|
|
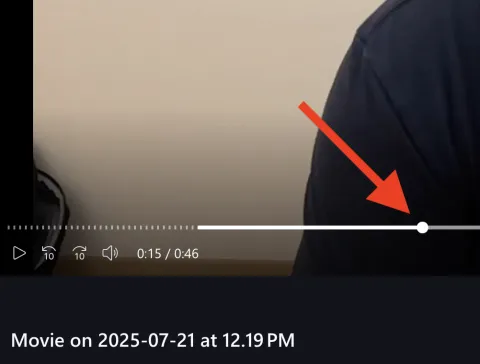
Playback | |
Image
|
|
Exporting Video in Photo Booth:
We are now going to export the video from Photo Booth so it can be saved to a USB drive, uploaded to OneDrive, or shared elsewhere.
Export: | |
Image

|
|
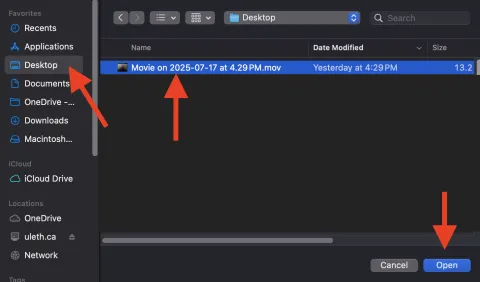
Save: | |
Image

|
|
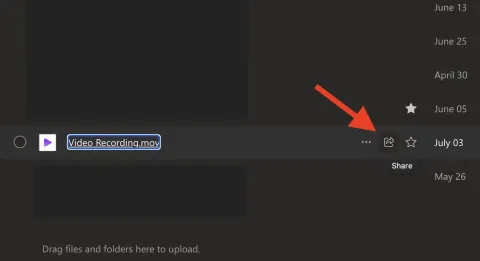
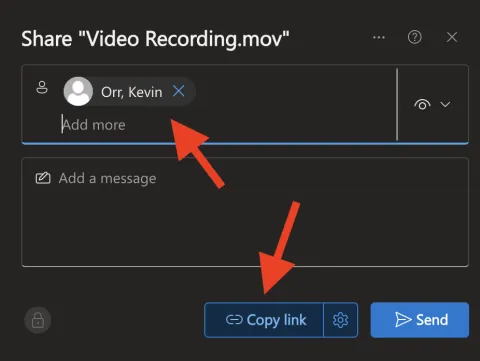
Uploading to OneDrive :
Your exported recording can be uploaded to OneDrive and shared by creating a shareable link.
|


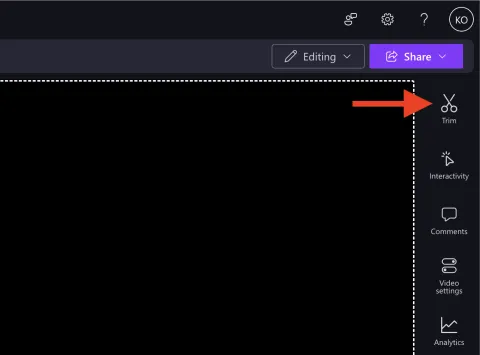
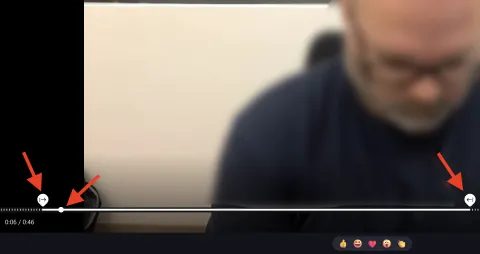
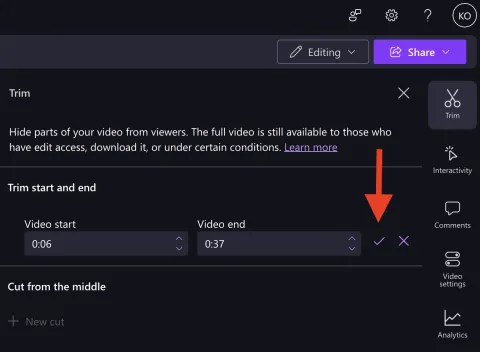
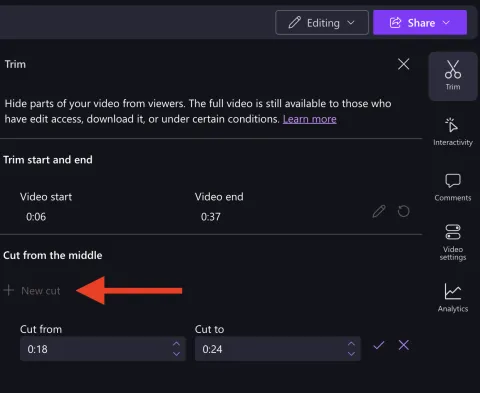
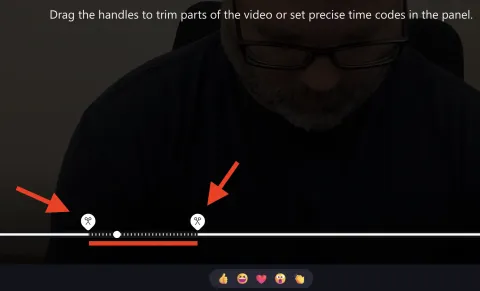
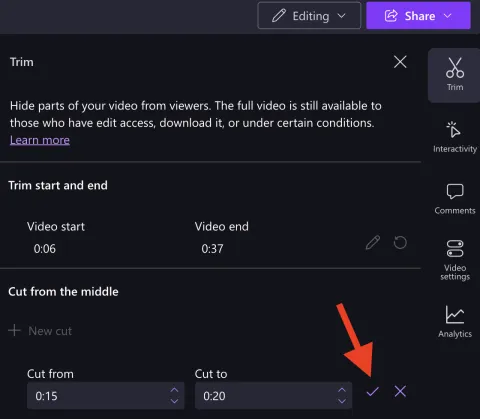
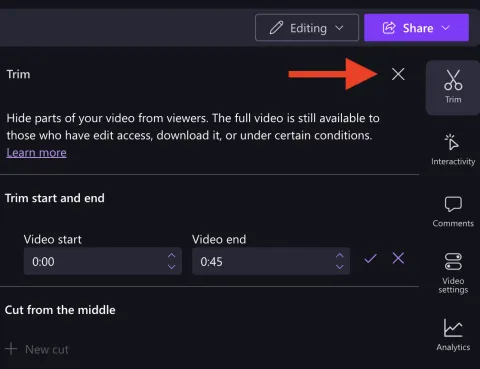
Editing Your Video:
Once your video has been uploaded to OneDrive (and before you share it), you can edit the clip right within OneDrive.
|
Sharing to Moodle:
You may find that your video is too large to upload to Moodle. The following outlines how to create a shareable link to your video in OneDrive and insert it into Moodle.
|